I heard about the Virtualisation project a while ago but it was until recently, I gave it a spin. I was pleasantly surprised of what’s possible and how well it works.
What? Why?
It does sound a bit crazy, right? We use to host kubernetes using VMs, or you are still doing that in the public cloud, and now we turn this around?
In my opinion kubernetes should be run on bare metal machines for optimal performance: contention with other VMs is non existing obviously and storage is directly connected to k8s. K8s is designed to host hundreds of containers on many hosts and should be able to efficiently manage resources (if you help by using requests and limits in your deployments) in a way your workloads react in a predictable way.
You are probably excited about moving everything to containers in your organization but you might end up with some virtual machines for various reasons. I can come up with some:
- Time: you are still in the process of moving legacy workloads to containers.
- Not everything makes sense as container(s). This can be a blog post on its own but maybe you have some database cluster that is hard to operate in k8s. I have horrible experiences with MySQL clusters for example.
- Chicken/egg problem: k8s might depend on services such as LDAP, container proxy, container registry, … If you move this to k8s, you probably can not even boot up your cluster!
- Core infrastructure you just don’t want the k8s api to touch: DNS, LDAP, …
- Container security is a concern. It is a fact that VMs have a stronger barrier than containers. It is very simple: containers share the hosts Linux kernel, VMs don’t.
Red Hat Virtualization today
I learned this week that Red Hat will stop supporting their traditional virtualization offering when 4.4 reaches end of life: https://www.reddit.com/r/ovirt/comments/sp1unz/the_future_of_ovirt_from_a_february_2022_point_of/
So I assume that Openshift Virtualization will fill that gap in their product gamma?
I guess oVirt will live on in the open source community. But the drop of the support from Red Hat is probably quite a blow.
I definitely hope there is still something open source around to manage some VMs we don’t want or can manage in kubernetes.
KubeVirt and Openshift
A Cloud Native sandbox project backed by Red Hat: https://kubevirt.io/
Openshift and OKD provide integration to their platform. Let’s find out.
The official documentation is pretty clear: https://docs.okd.io/4.10/virt/virt-learn-more-about-openshift-virtualization.html
I hope I can show you the gist of how to proceed, and maybe you can avoid some pitfalls.
Installation operator
Yet another operator, what did you expect. Look for Openshift Virtualization among the Red Hat operators.
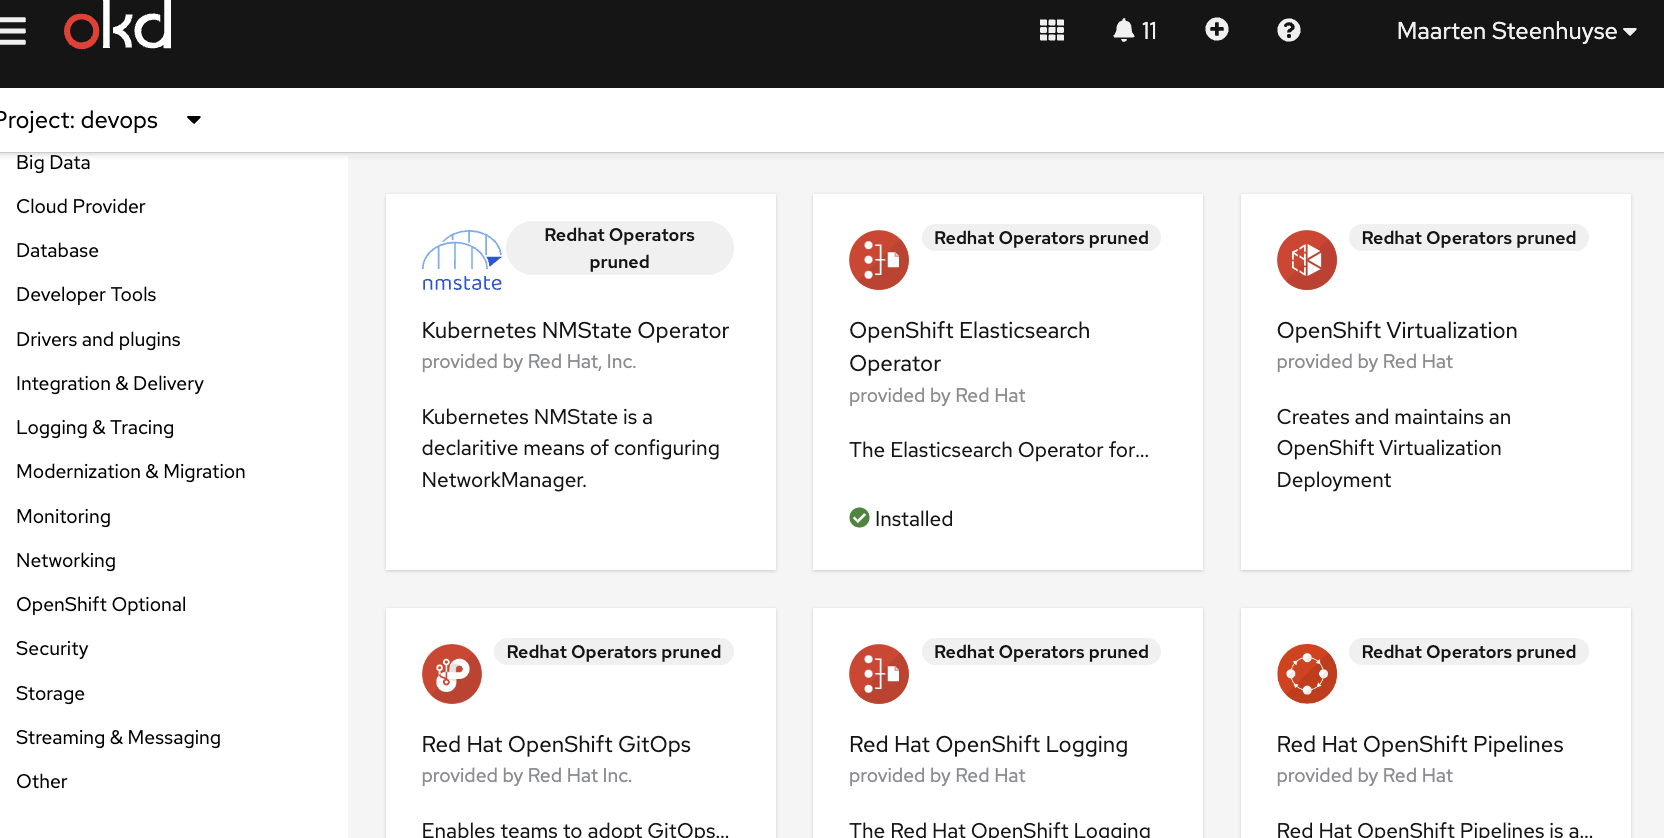
On the image you might notice the word ‘pruned’. This is because of the air gapped setup: The console cannot access the standard repositories on the internet. Red Hat provides tools that allows you to mirror a subset of operators to your own container registry and use a pruned catalog. Let’s revisit this tools in another blog post, if I find the time.
While you are at it, also install the NMState operator. You will need this operator if you want to setup ‘real’ networking for your VMs.
This is an example of how you can manage operators using the web console, but probably you like to store your infra in git.
To be honest, I usually use the GUI to install the operator in a test cluster, then copy paste the (cleaned up) YAML to our infra repository and verify this on our production clusters. Let’s maybe revisit this kind of tricks for another blog post.
OpenShift Virtualization Deployment
I didn’t bother with reading the instructions carefully unfortunately, and was stuck for a little while: the operator install should have triggered all kinds of changes in the OKD console but it did not (yet).
We need to first setup some YAML declaring a so called Openshift Virtualization Deployment. I again would advice you to use the web interface at first.
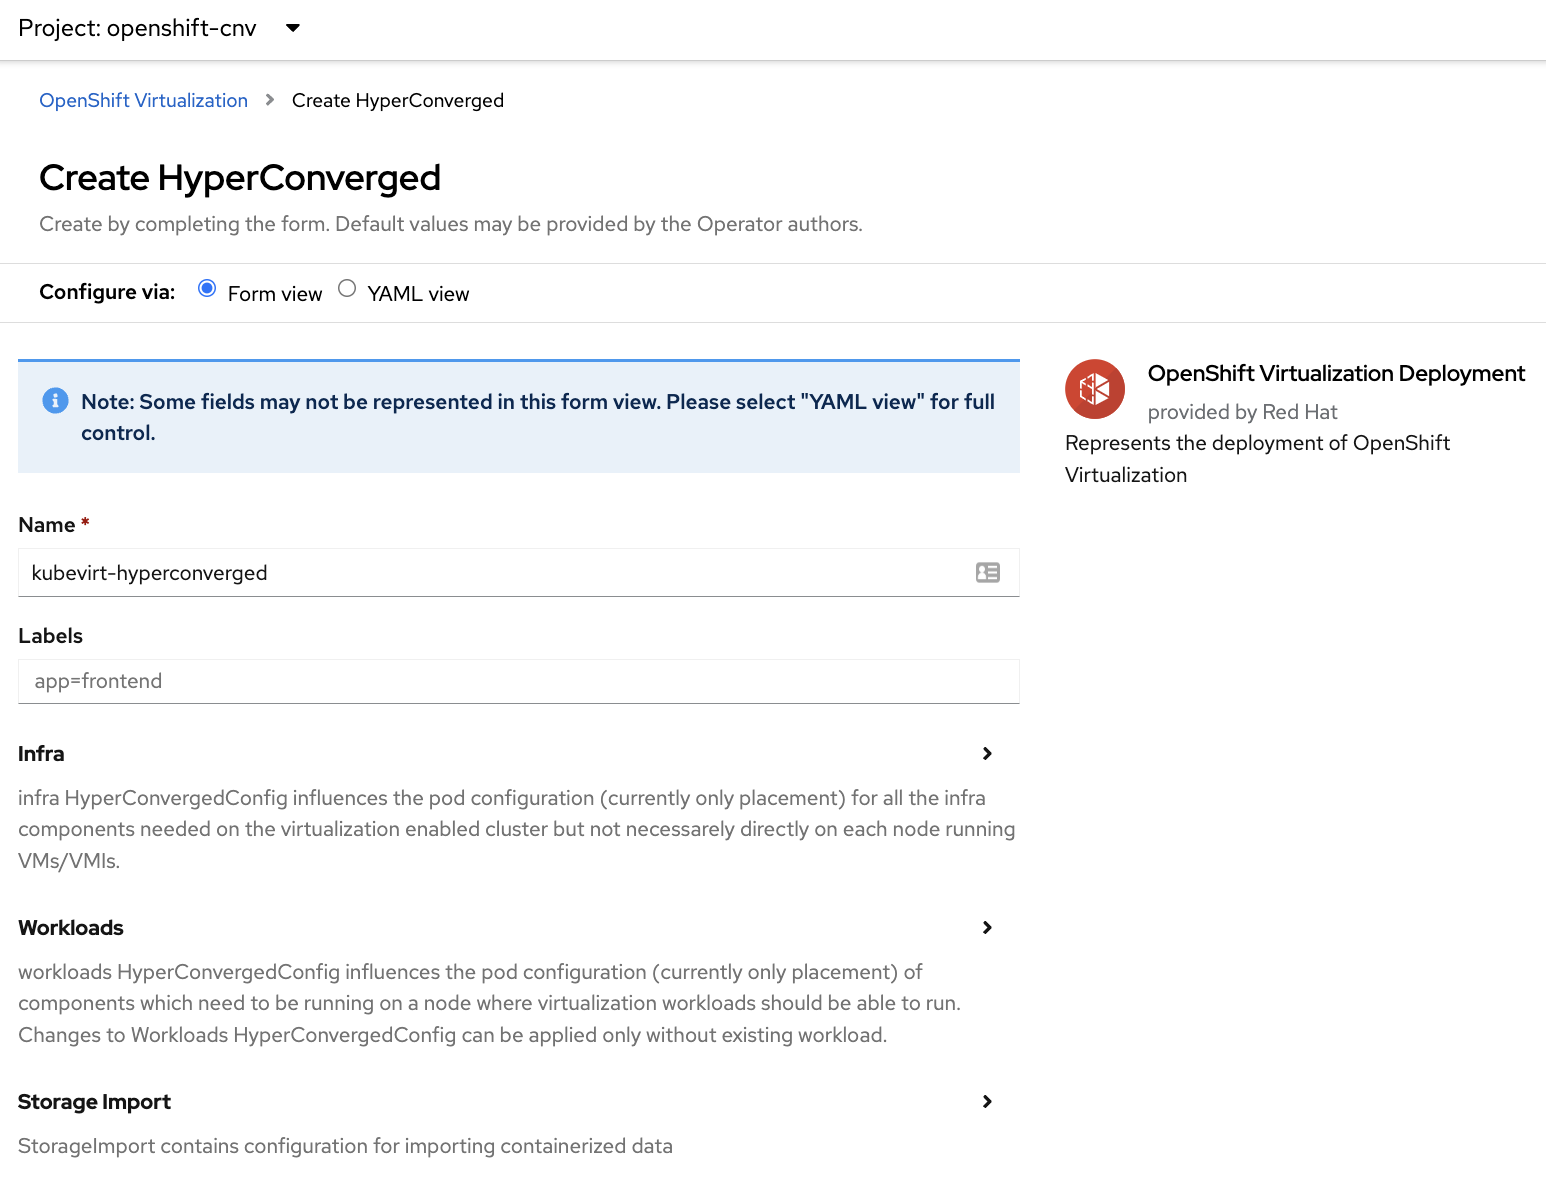
A bit more complicated, the image only shows a part of the form. I can’t remember I customized anything so just create it. This is the YAML that is active in one of our clusters:
apiVersion: hco.kubevirt.io/v1beta1
kind: HyperConverged
metadata:
  labels:
    app: kubevirt-hyperconverged
  name: kubevirt-hyperconverged
  namespace: openshift-cnv
spec:
  certConfig:
    ca:
      duration: 48h0m0s
      renewBefore: 24h0m0s
    server:
      duration: 24h0m0s
      renewBefore: 12h0m0s
  featureGates:
    enableCommonBootImageImport: true
    sriovLiveMigration: true
    withHostPassthroughCPU: false
  liveMigrationConfig:
    completionTimeoutPerGiB: 800
    parallelMigrationsPerCluster: 5
    parallelOutboundMigrationsPerNode: 2
    progressTimeout: 150
  uninstallStrategy: BlockUninstallIfWorkloadsExist
  workloadUpdateStrategy:
    batchEvictionInterval: 1m0s
    batchEvictionSize: 10
    workloadUpdateMethods:
    - LiveMigrate
It gives you a glimpse of the complexity that seems to happen behind the scenes but I didn’t really bother with this yet. Another hint is all the pods it spawns, I count 37 new pods in the openshift-cnv project.
OKD web console integration
When this is applied, automagically the OKD console interface gets the virtualization capabilities.
Deploying a VM
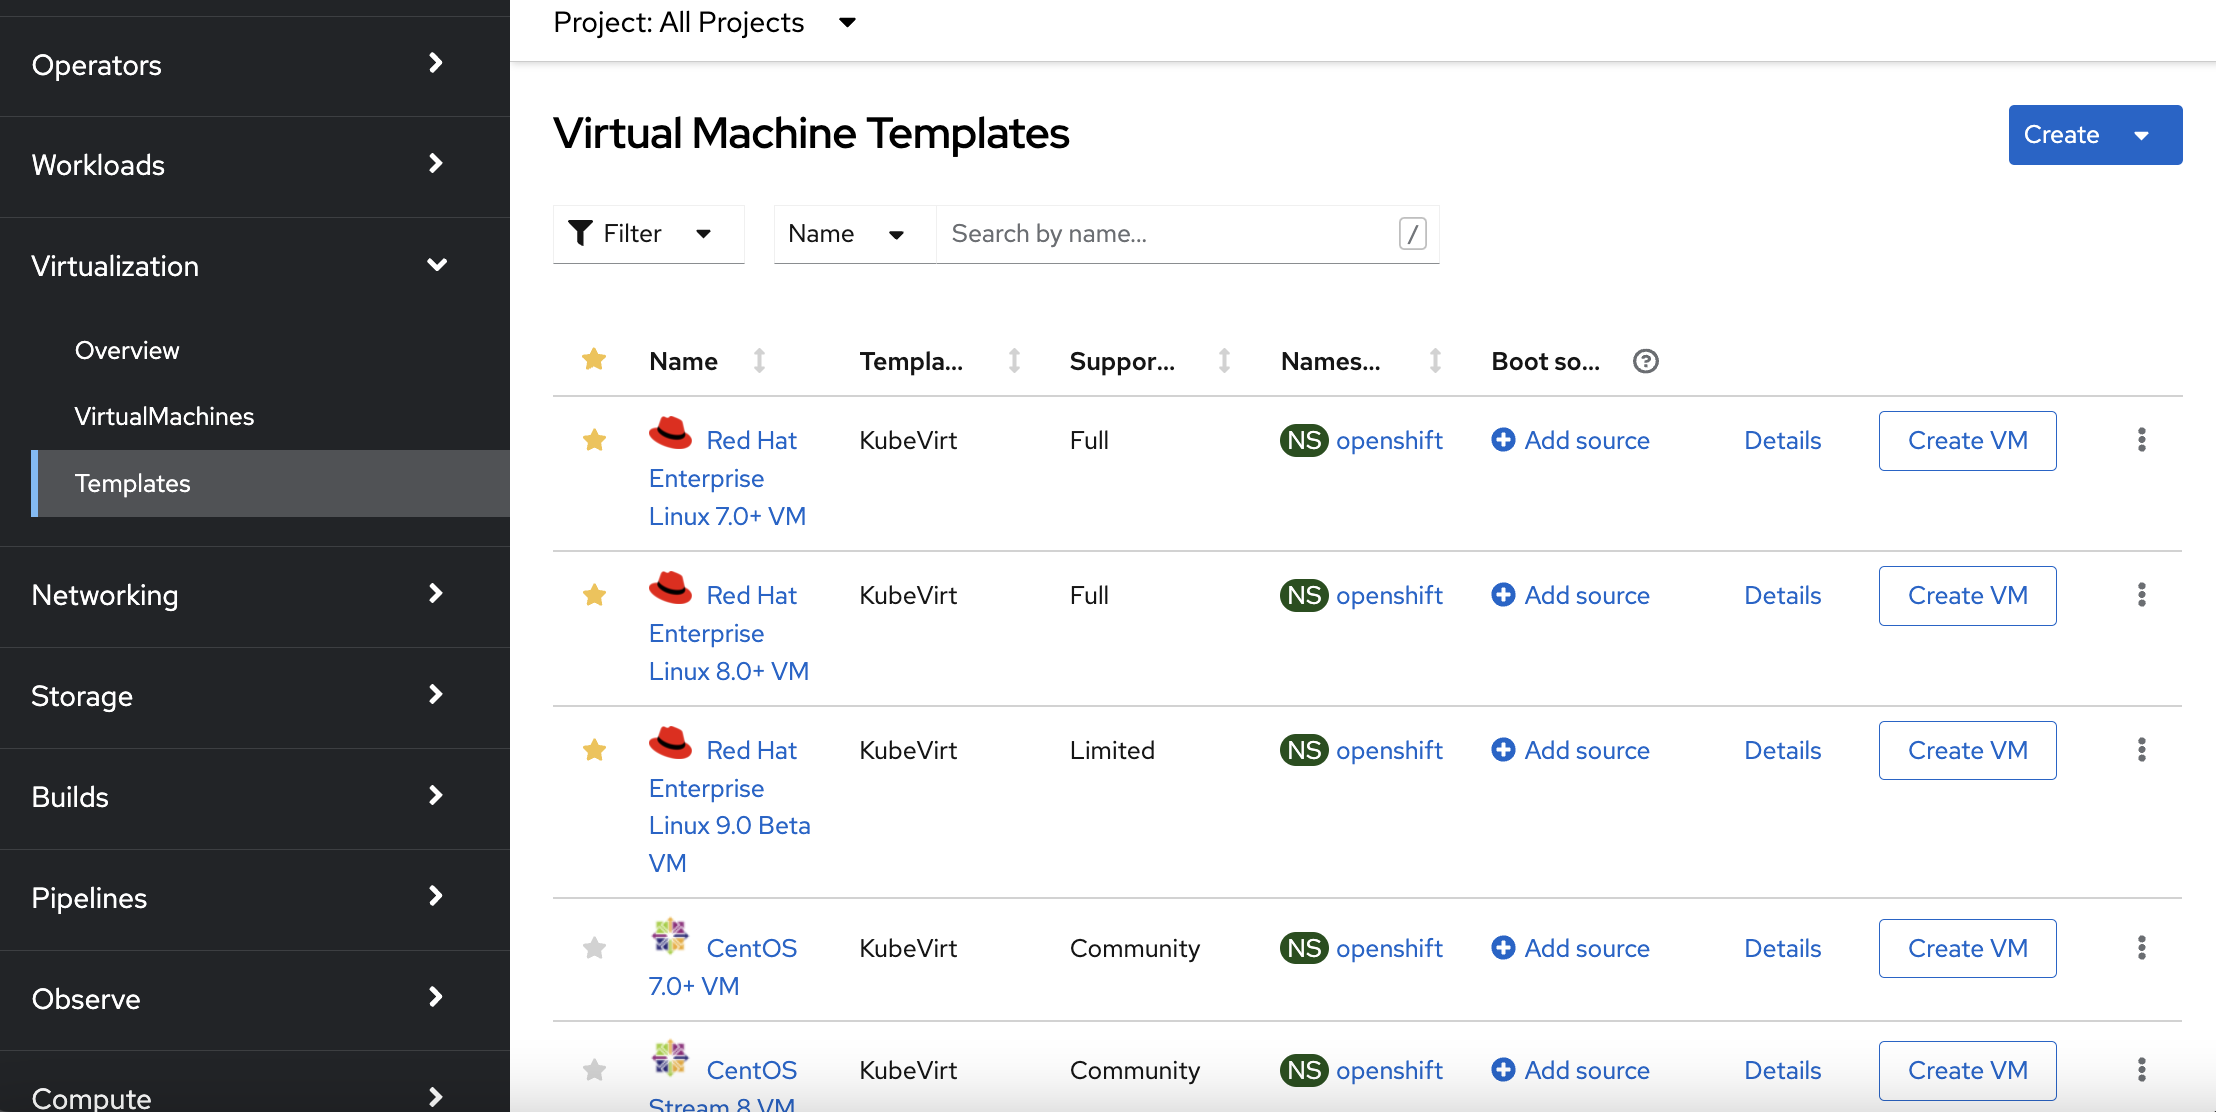
Installation was a breeze, after a few minutes you can do what you came to do: deploy your VM.
Again you can do hardcore YAML but I choose to test using the nice builtin wizards. Take your pic, I choose to install Centos Stream 9 VM.

Booting from cloud image
Every respected Linux distribution provides a cloud image that you typically can customize using cloud-init.
In the image you see the options for providing an image to KubeVirt.
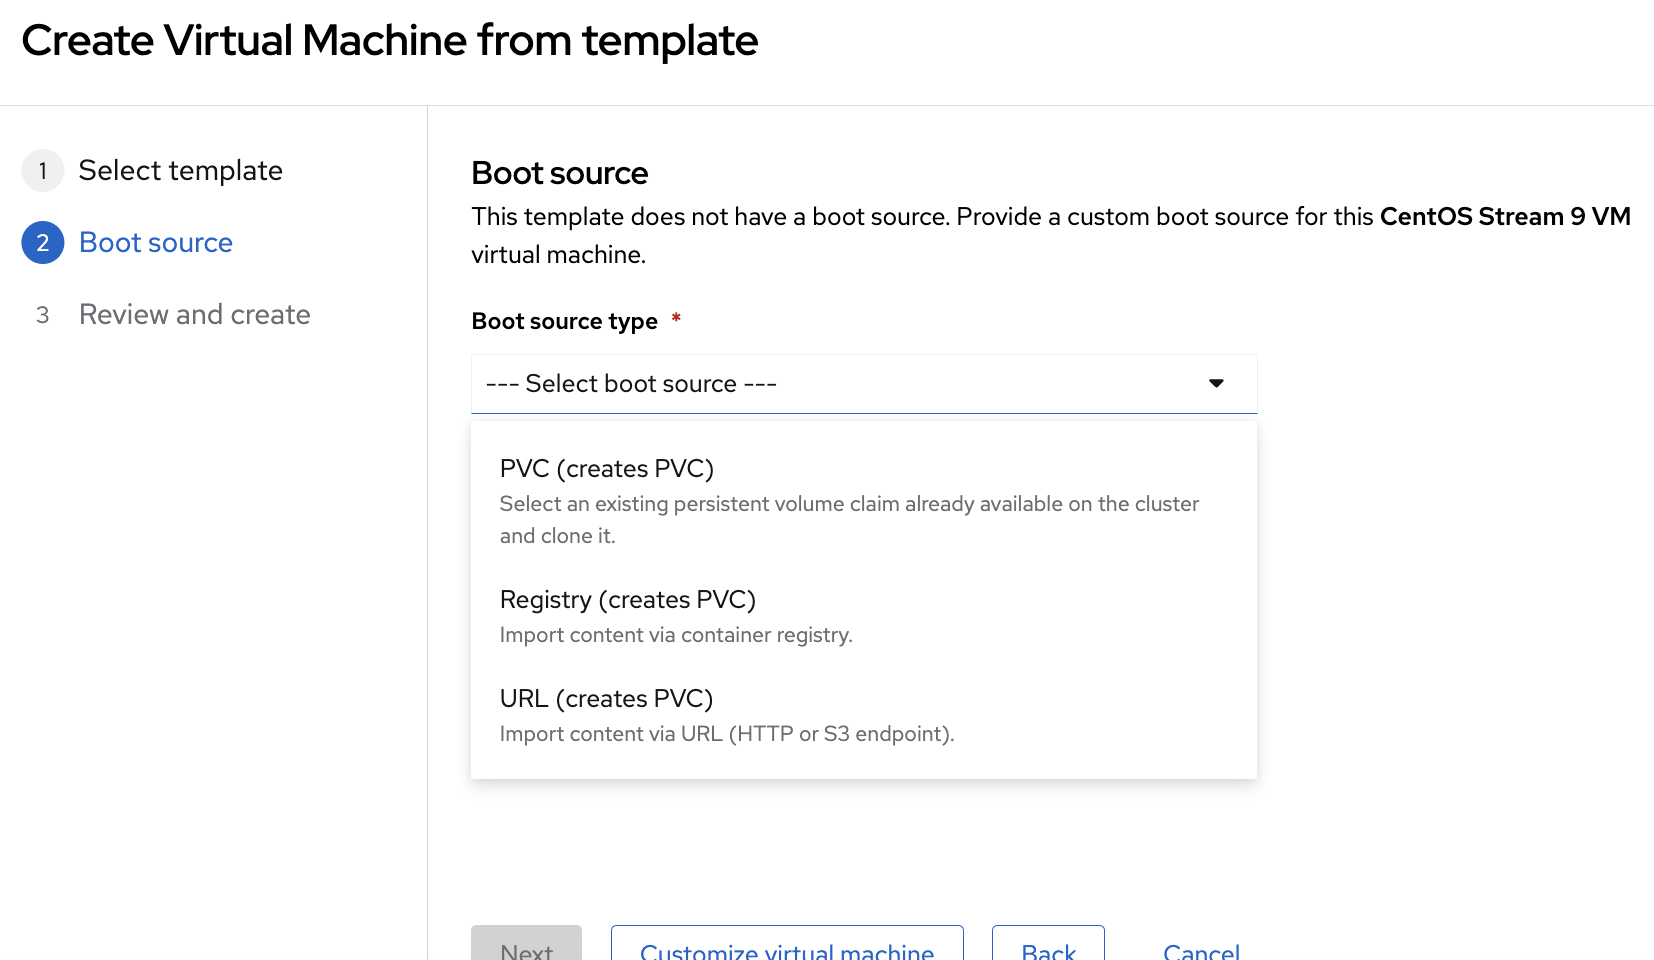
Options:
- a Pre-prepared
PerstistenVolumeClaimcontaining your disk - Point to an URL serving your image, typically
qcow2. - Upload your disk image to your container registry
I opted for option 2: I downloaded the latest Centos cloud image and uploaded it to a local web server accessible from our disconnected cluster.
Customization VM
You need to set a name, choose a flavour, … All the things you would expect.
We don’t touch the default values for most options. Automatically a cloud-config is applied that sets a random password for the ‘centos’ user. You can also configure your authorized_keys.
The default networking in KubeVirt is regular pod network. The cool thing is you can use k8s services and ingress just like with any other pod. But for real stuff you probably want to attach to another interface of your nodes and maybe access a tagged vlan. Let’s try this out later.
If you don’t specify a StorageClass, the default will be taken. In our case that is Ceph Block Storage. The cloud image will be automatically copied to a new volume by KubeVirt when you apply your VirtualMachine resource.
Missing ConfigMap
This seems to be a bug that you might hit too: the disk provisioning pod failed to come up. Logs showed this:
Warning FailedMount 7s (x7 over 38s) kubelet MountVolume.SetUp failed for volume "cdi-proxy-cert-vol" : configmap "ca-config-httproxy" not found
This ConfigMap can be found in the ‘openshift-config’ namespace. So use this little trick if you want to start VMs in another namespace:
oc get cm -n openshift-config ca-config-httproxy -o yaml | oc neat | sed '/namespace/d' | oc apply -f-
neat is a kubectl/oc plugin that removes most ‘k8s internal’ annotations and similar fields.
Access VM
The disk import takes a very long time. Not sure why. Web server logs shows zillions of lines like this:
x.x.x.x - - [12/Jun/2022:17:00:42 +0000] "GET /CentOS-Stream-GenericCloud-9-20220509.0.x86_64.qcow2 HTTP/1.1" 206 17983 "-" "-"
x.x.x.x - - [12/Jun/2022:17:00:42 +0000] "GET /CentOS-Stream-GenericCloud-9-20220509.0.x86_64.qcow2 HTTP/1.1" 206 15133 "-" "-"
x.x.x.x - - [12/Jun/2022:17:00:42 +0000] "GET /CentOS-Stream-GenericCloud-9-20220509.0.x86_64.qcow2 HTTP/1.1" 206 19939 "-" "-"
But in the end the machine is provisioned and boots for the first time.
Again the web console was my first goto:
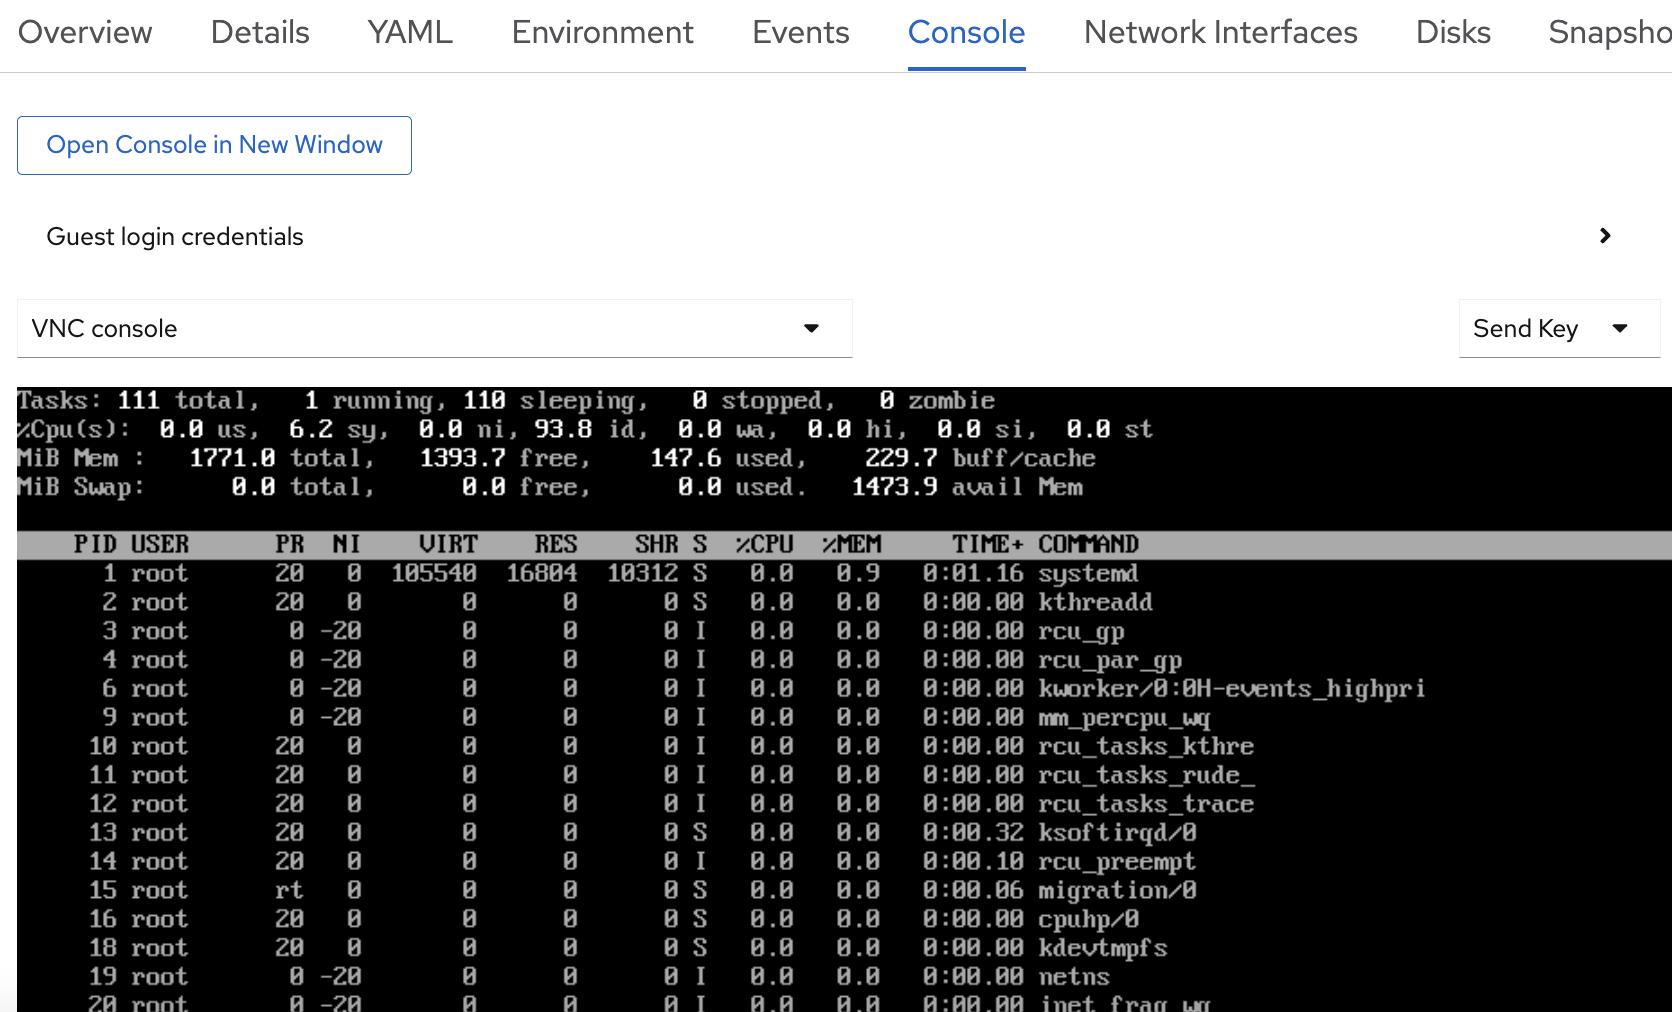
You can create snapshots and live migrate your VM. Looks like a mature VM management platform to me!
Console client
You probably wonder: How do you SSH to that pod.., VM I mean? The easiest option is using the virtctl console client. You can download it from the OKD console or head to the KubeVirt Github page: https://github.com/kubevirt/kubevirt/releases/
Then SSH to your pod using (assuming you are in the project where your VM is running):
virtctl ssh centos@<VM NAME>
Or open a new window allowing you access to your VM console:
virtctl vnc <VM NAME>
I was impressed seeing all that for the first time. How about you?
TODOs
We only did a first test. Here a sneak peak of what will come next in the ‘KubeVirt’ series.
‘Real’ Networking
I first need to connect the servers to some switches and then we can attach our VMs to a dedicated interface allowing access to tagged VLANs.
Let’s go nuts: nested virtualizatiion
Technically you can enable nested virtualization on your hosts, enabling you to host virtual machines in virtual machines running in pods in your k8s cluster. Can you follow?
There are two different approaches when talking about nested virtualization:
- Running
KubeVirtin your VM based cluster - Running VMs in
KubeVirtVMs
We consider case 2 but for case 1 you can follow the same approach. It might sound far fetched at first but there are always use case where you want nested virtualization. But some other time!